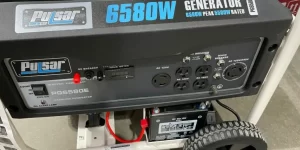
The Westinghouse Generator Stalls Out When It’s Being Worked Hard: PROBLEM SOLVED!
When the engine of your generator isn’t operating strongly and starts to splutter, search for anything that might limit the passage of fuel and air into the engine.
When a Westinghouse generator is subjected to a load that is disproportionate to the size of the generator, when the carburetor is dirty, when the fuel filter is clogged, when the air filter is plugged, when the choke is stuck, or when the spark arrestor is plugged, the generator bogs down and runs roughly.
Before attempting any repairs, you should first wait for the engine to calm down and then remove the spark plug wires. In order to reduce the likelihood of suffering significant injuries, it is important to take these steps in addition to those indicated in the operator’s handbook.
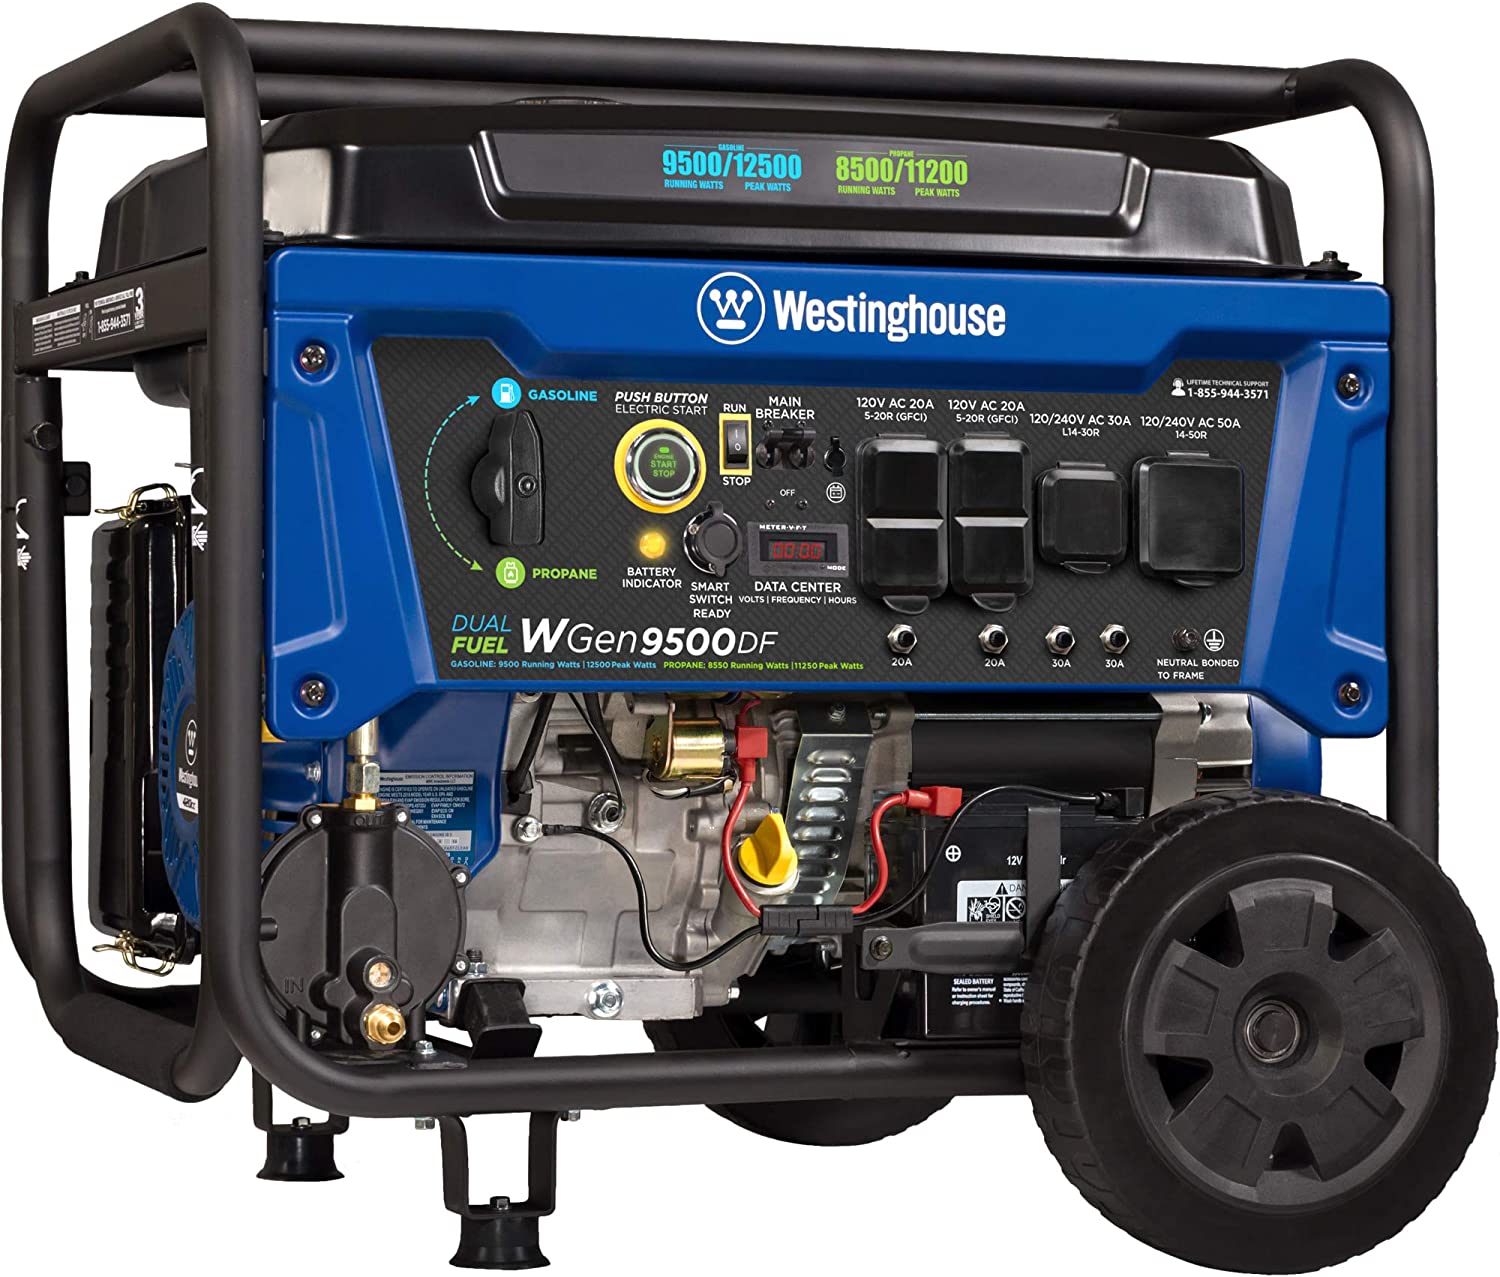
Table of Contents
Here Are Six Causes Why a Westinghouse Generator Clogs Up While It’s Being Worked Hard
There is an Excessive Amount of Load Being Placed on the Westinghouse Generator.
It’s not true that all generators are the same. There is a maximum power that it can support before it begins to overheat. If you go over this threshold, the generator may become unresponsive.
This will not only slow down the operation of your Westinghouse, but it also runs the risk of causing damage to the generator as well as any other components that are linked to it.
Check the load limit of your generator in addition to the wattage needs of the objects you are operating with the generator before you examine the generator for components that might cause it to operate roughly.
The maximum amount of watts that may be drawn from the generator at one time must be lower than the needs of the things that are being operated simultaneously.
To figure out the wattage capacity, consider the following advice:
- The wattage of most electrical products is indicated on a tag that is affixed to the object, and this tag may be found on the item.
- When it comes to motors, there are those that need greater power in order to start anything. For determining the necessary amount of watts, the beginning wattage should be applied in this particular instance.
- In order to obtain a total, you need to add up the wattage of everything that will be hooked into the generator at the same time.
- This total wattage must be lower than the maximum wattage that the generator is capable of producing.
Do not use the generator to power more electrical devices than it is able to support at one time. Turn off the generator as soon as the machine begins to bog down. Take out anything that’s connected into the ports and put it away. Begin adding items one at a time while the generator is being restarted.
The carburetor of a Westinghouse generator was filthy.
The carburetor may get clogged with varnish over time, which will prevent it from performing its intended functions. The buildup of varnish within the carburetor is caused by utilizing stale gas, which coats the interior components of the device and causes the fuel passageways to get clogged.
If there is not enough gasoline, the combination of fuel and air will not ignite to produce the explosion that is necessary to start the engine. If the carburetor is unclean, it will need to be removed so that it may be cleaned or rebuilt before it can be used again.
While dismantling the carburetor in order to clean it, it is a good idea to take pictures at each step of the process. This will allow you to reassemble the carburetor without having to worry about whether or not the minor pieces are in the right places.
Take the carburetor from the generator and set it aside. Using a carburetor cleaner, remove as much of the gunk as you possibly can. In the event that you discover any broken components, you may change them out with the use of a carburetor rebuild kit. When the carburetor has been cleaned and repaired, the next step is to install it.
You do not need to disassemble the carburetor in order to clean and rebuild it; rather of doing so, you can just buy a new one and install it in its place. This is an option worth considering if you are not comfortable dealing with tiny components. If, after cleaning it, it still does not operate, you may need to replace the Westinghouse carburetor with a new one.
Westinghouse Generator with a Clogged Fuel Filter or Sediment Bowl
In a Westinghouse generator, the fuel is filtered via a fuel filter so that dirt does not make its way through the fuel system and into the engine, where it may cause wear and damage.
Either an inline filter that is installed between the gasoline lines or a sediment bowl that is linked to the fuel valve might be present in your vehicle. Either the filter may get clogged, or the sediment bowl could fill up, producing a limitation in the flow of fuel.
If you use your generator on a regular basis like most homeowners, you should consider replacing the fuel filter or cleaning the sediment bowl once a year at the very least. If you use it on a more consistent basis, you will need to do this maintenance on a more frequent basis.
You may get help from a Westinghouse service facility if you are unclear whether or not a fuel filter is utilized and if you are wondering where your fuel filter is placed.
Air Filter in a Westinghouse Generator That’s Been Wired In
The engine is protected against the potential for even a little quantity of dirt or debris to cause harm thanks to the air filter, which prevents dirt and debris from getting into the air intake.
In the same way that you should change the fuel filter at least once a year, you should also change the air filter at least once a year or more regularly if you run the generator in dusty circumstances or use it frequently.
In addition to replacing the air filter when it gets contaminated, you are responsible for keeping it clean at all times. This entails doing a variety of checks on the filter in the time that elapses between its replacements. The goal of these checks is to guarantee that the filter is kept in pristine condition and is free of any dirt or other particles.
It is possible for the filter to get clogged with so much dirt that the engine will not receive an appropriate quantity of air if you do not clean or replace the filter on a regular basis. You can prevent this from happening by ensuring that you clean or replace the filter on a regular basis. It is conceivable for the engine to get stuck, for it to overheat, and for the damage to be significant and irreparable. Both of these scenarios are feasible.
Always check the condition of the air filter before using it to see whether it needs to be cleaned or changed. Be sure to clean the Westinghouse according to the instructions that may be found in the operator’s manual for the device.
Further down in this page, you’ll find detailed cleaning instructions for many distinct types of air filters. I hope you find them helpful! Go look at the directions that were included with the air filter in case you are unsure how to clean the one you now have.
It is important to keep the foam-style air filter of a Westinghouse generator clean.
- Take out the air filter and place it somewhere safe.
- Remove any leftover dirt from the housing and cover of the air filter using a clean cloth. It is important to prevent dirt from getting into the air intake.
- Examine the foam filter for any signs of wear and tear; if necessary, replace it.
- If the filter is in excellent condition, wash it in soapy water and rinse it until the water is clear. If the filter is not in good condition, replace it.
- When you have squeezed the filter, set it aside to dry.
- IF THE FILTER WAS COATED IN OIL, once dry, coat the filter with clean engine oil. Squeeze to remove excess oil. Not all foam filters are coated in oil. Refer to your model’s operator’s manual if you are not sure whether to add oil to the filter.
- WHEN IT HAS DRIED OUT, COAT THE FILTER WITH CLEAN ENGINE OIL. THIS STEP IS REQUIRED ONLY IF THE FILTER WAS PREVIOUSLY COATED IN OIL Squeeze to remove excess oil. There are certain foam filters that do not have an oil coating. If you are unsure about whether or not you should add oil to the filter, refer to the operator’s handbook that came with your model.
- Put in place the new air filter.
- Re-attach the lid to the air filter.
To clean the paper air filter on a Westinghouse generator, do the following:
- Take out the air filter and place it somewhere safe.
- Remove any leftover dirt from the housing and cover of the air filter using a clean cloth. It is important to prevent dirt from getting into the air intake.
- Check the paper filter that is in the air. Tap the filter to dislodge dirt, which will then fall out of the filter as a result of your tapping. Replace the filter with a new one if it has a lot of dirt on it, if it is broken, or if it does not seal the air intake properly anymore.
- Put in place the new air filter.
- Re-attach the lid to the air filter.
Having Trouble with the Choke on a Westinghouse Generator
When the throttle is not readjusted after the engine has warmed up to enable adequate air to enter the engine, this is another example of a lack of airflow issue that may cause the generator to bog down and stop working.
This may take place if the driver forgets to shift the choke to the “off” position after the engine has attained operating temperature. This might happen if the driver is not paying attention. It is also conceivable that the issue is caused by a broken switch or dial (depending on the kind of generator you have) that is used to start the generator, or by a choke that is stuck in the on position.
Westinghouse generator with a clogged spark arrestor due to carbon buildup
A spark arrestor screen is a component that may be installed to a Westinghouse generator. Its goal is to prevent sparks and other types of hot material from being released from the muffler, and it does this by capturing sparks before they leave the generator. This is done in an effort to reduce the likelihood of burn injuries as well as the outbreak of flames.
If this metal screen becomes clogged with a buildup of carbon, the generator will begin to operate erratically and may eventually stop working altogether because it will be unable to get hot exhaust air out of the engine. If this happens, the generator will shut down because it will not be able to get hot air out of the engine.
It is possible that the danger of injury may be reduced by waiting for the muffler to reach room temperature before removing the spark arrestor in order to clean it. Remove the spark arrestor screen so that you may investigate the present condition of the device. If you inspect the mesh screen and find any tears or holes in it, you should invest in a replacement screen and throw away the damaged one.
If the screen seems to be in good condition, you may clean it with a commercial solvent or remove soot deposits from it by gently brushing it with a small metal brush. All of these methods will work. If the screen does not seem like it is in excellent shape, you do not need to worry about fixing it. After giving the screen a good cleaning, connect it to the muffler so that it may be used again.
It would be misleading to suggest that the operation of each and every generator is the same. In terms of power, it is feasible to push it to its utmost maximum before it begins to overheat. When you go beyond this point, the generator may no longer react to the orders that you give it.
This will not only cause your Westinghouse to work at a snail’s speed, but it also runs the risk of causing damage to the generator in addition to any other components that are associated with it.
Before you begin inspecting the generator for components that might cause it to function in an unstable manner, you should first determine the maximum load that your generator is capable of managing, in addition to the wattage requirements of the items that you will be powering with the generator. Only then should you begin inspecting the generator for components that might cause it to function in an unstable manner.