Having Trouble Keeping Your Cub Cadet Lawnmower’s Battery Charged?
It can be annoying to have to continuously charging the battery in your Cub Cadet mower before each use. Having to wait for the battery to charge might really cut into your mowing time, so keep that in mind if you’re already short on time.
When the ignition key is left in the on position, when the charging system is malfunctioning, when the wires connecting the battery to the mower are loose, when the cables or components are corroded, and when the battery is dead.
If you own a Cub Cadet mower, always use it in accordance with the manufacturer’s safety instructions. Before attempting to do any electrical repairs, the negative cable (black) must be disconnected from the battery.
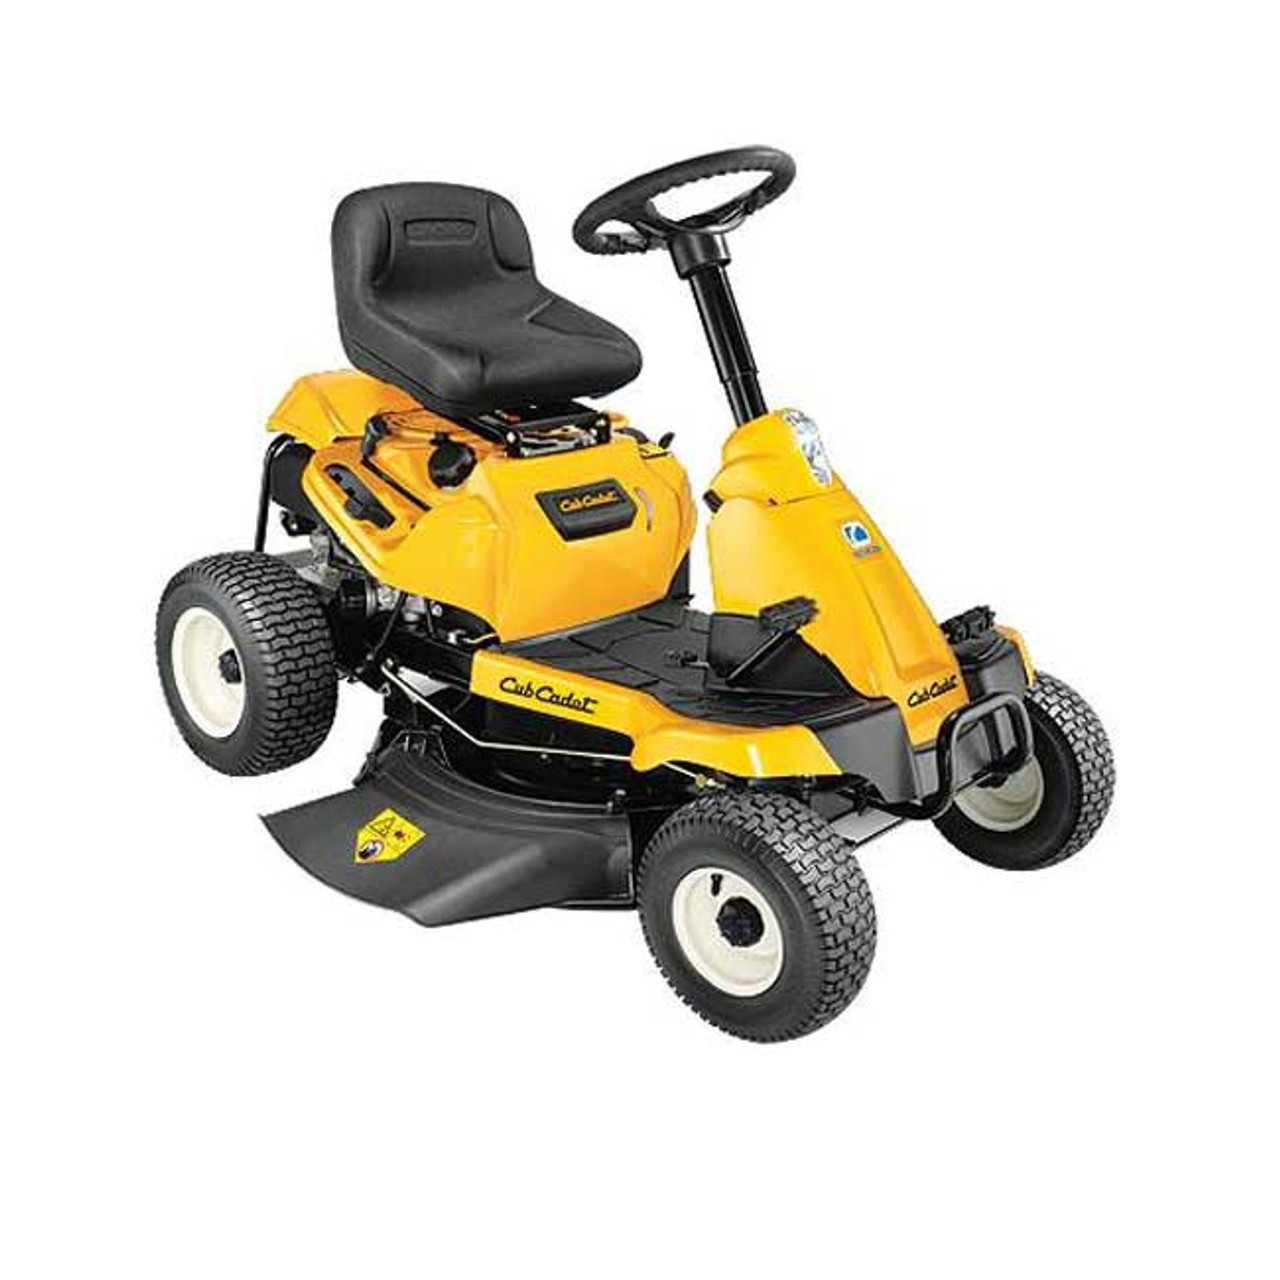
Table of Contents
The battery in my Cub Cadet lawn mower keeps dying.
The Cub Cadet Lawn Mower’s Battery Had Loose Cables.
If your mower’s battery continues dying, you should inspect the wires connecting it to the battery and other parts of the machine. See to it that the wires are not dangling.
Find the solenoid by following the red cable (positiv cable) from the battery down. Then, stick with the cord as it leads you to the starter. Be sure that every cable has a solid connection and is properly fastened.
Deteriorated Connections on a Cub Cadet Lawnmower’s Battery
Next, examine sure there is no corrosion (visible as green or white) at any of the connections. As a result, the Cub Cadet battery may keep dying.
Take apart the rusted connector and clean it thoroughly. First, REMOVE the battery cable.
In order to sever the electrical connection between the battery and the cable, the negative cable must be removed from the battery.
It’s possible to cause an explosion by removing a battery without first breaking the circuit, in which case the battery might arc the wrench and throw sparks if you strike the frame or another metal object with it.
This is why you should never touch your batteries without first putting on protective eyewear and gloves. After disconnecting the negative cable, you can take out the positive cable (red) without incident.
Keep in mind that the positive cable is the one you put back on once you’ve removed it, so that will help you keep track of which one you took off first.
Once the battery connections are disconnected, you can remove any other cables that need to be checked, cleaned, or replaced. A solution of baking soda and water can be used to clean wires, connectors, and other connections.
Create a paste by combining 4 cups of water and around 6 tablespoons of baking soda. If you come across any corrosion, apply this paste on it. As the paste cleans the cables, it will begin to bubble.
Because of the potential for a mess, you might want to conduct this outside. When you’re done using the baking soda paste, rinse the affected areas with water.
Quicken the process with the help of a wire brush. Coca-Cola can also be used as an effective rust remover.
Trouble with the charging system on my Cub Cadet lawnmower
Once you’ve sorted out the cords, you may investigate the battery charging procedure. The alternator for most Cub Cadet lawn mowers is located inside the machine.
Charger Functionality Check
- Check the battery charging mechanism with a volt-ohm meter.
- Start the meter up and double check that it is set to read 12 volts.
- Turn off the engine before touching the battery terminals. Connect the positive (+) connector to the red wire and the negative (-) terminal to the black wire.
Battery voltage readings are taken for this purpose. Between 12.4 and 12.8 volts should show up on the meter. Depending on the battery’s condition and the rate at which it is being charged, its reading may be higher than actual. - Make a note of the volt-ohm reading.
- Get the car in park and turn on the ignition.
- Connect the battery cables, with red going to the positive (+) terminal and black to the negative (-) (-).
- Start your mower up to three-quarters of the way, and then take a look at the fuel gauge. The voltage should be at least 13.2 volts and no more than 13.9 volts.
If this number is greater than the one obtained with the engine turned off, your alternator is successfully charging the battery.
It’s a sign of trouble with the charging mechanism if the result of the most recent test doesn’t differ from the result of the initial test. A defective stator or alternator could be to blame.
In order to figure out what component on your lawnmower has malfunctioned, you will need to do more tests or bring it in for servicing. There are also 20 amp systems and 15 amp ones. Manufacturer and engine parameters both play a role in determining size.
If your vehicle’s charging system fails, you should seek the assistance of a qualified mechanic. You may locate one at any local repair shop or authorized Cub Cadet dealer.
There are a lot of pricey engine parts that could be at problem. The cost of throwing pieces at a problem in the hopes that one may stick.
The aforementioned procedure can be performed on your battery at any time using a volt-ohm meter, provided that the cables are clean. It is possible that a faulty connection will be discovered during this test.
A Cub Cadet mower’s ignition key was accidentally left on.
It’s possible that when you were done mowing, you forgot to turn off the engine.
Unless you have an oil warning light on the dashboard or are using a 12-volt accessory with a Cub Cadet that has an accessory port, you shouldn’t have to worry about this.
Your mower’s battery may need charging if you leave the key on and discover it has died the next time you want to use it.
To use a battery charger on a Cub Cadet lawn mower, try one of the following approaches. This Amazon battery charger is great since it offers a trickle charge mode, which is perfect for topping off a battery that is already close to full.
One end of the red wire goes to the positive (+) terminal, while the other end goes to the negatives (-) terminal.
Way One: Plug in Your Cub Cadet Lawn Mower and Charge the Battery
- Take out the battery and unplug the cords. To review, the positive cable (red +) should be plugged in first and removed last. If the battery has a removable cap, check the water level now.
Adding distilled water to the battery is necessary if the plates within are not submerged. A battery should not be refilled with well water. Although using city water is preferable, distilled water is ideal for your batteries.
- Make sure the battery is fully charged before proceeding with the next step, which is to check the water level.
- Use a voltmeter to find out how much juice your battery has. The battery shouldn’t take too long to charge if it already has 11.8 volts.
A battery of 10.1 volts needs to be charged for some time. The longer you leave your battery plugged into its charger the lower the voltage reading.
When I’m in the mood for a “slow bake,” I like to use a low battery. Depending on the charger, you may be able to select a current output of 6 amps, 4 amps, or 2 amps for your battery.
A dead battery can be charged in roughly an hour using 2 or 4 amps. One hour after taking the reading, be sure the voltage rate is rising at a consistent rate. If so, go ahead and add another hour onto your billing cycle.
Way 2: Charge Your Cub Cadet Lawn Mower’s Battery
If the battery’s voltage isn’t too low but you still need to use the mower, plug it into a charger of up to 6 amps for 30 minutes. This should bring the battery up to around 12 volts.
Take the charger away and turn on the mower once the battery reaches 12 volts. If you keep the throttle between three quarters and full open while the mower is operating, the battery should be able to charge.
When you’re done mowing, take a look at the battery indicator to be sure you’ll be fine for the next round.
Cub Cadet Lawn Mower Has a Dead Battery
A defective battery can be identified when it has been placed on the charger for at least two hours and still refuses to charge to a voltage greater than 12 V. Obviously, a new one is needed in its stead.
Most automotive retailers, home improvement centers, and lawn mower specialty shops stock 12-volt lawn and garden batteries.
Take the battery out, and bring it along with you. The cost of a new battery is typically between $15 and $25, but most stores will need you to pay a battery core fee of between $15 and $25 if you don’t return your old battery.
Typically, when you buy a brand-new set of batteries, they already have a full charge. In any case, it might need charging before use if it has been collecting dust on a shelf for a while.
You can either fully charge the battery (as described above) before installing it in your Cub Cadet mower, or you can jump-start it.
To Recharge a New Lawn Mower’s Battery and Give It a Jump Start
A good automobile battery can be used to jump-start a dead Cub Cadet battery. In order to park adjacent to the Cub Cadet, please pull up next to it. Verify that the lawnmower is not running.
Take out your jumper wires and connect the positive (+) red cables to the car battery and the lawn mower.
The next step is to take the black negative (-) cable and connect it to the negative post of the lawn mower’s battery. Connect the black cable on the vehicle side to the bolt in the frame or the alternator bracket.
It’s fine to attach the cable on the car side to the bracket, as going from battery post to battery post isn’t usually the best option.
Put the automobile into gear. Put the lawn mower’s brake in place and turn it on. Don’t interrupt the mower’s operation for at least a few minutes. With the cords disconnected, the lawn mower should start right up.
When charging a battery, a voltmeter is a useful tool for monitoring its progress.
A Three-Year Shelf Life is Common for Batteries.
More frequent battery replacement than every three years could indicate a problem with the battery or its connections. If you take good care of your batteries, they should last for at least three years.
Here are some battery maintenance guidelines to keep in mind:
- Maintain a clean battery cable.
- The battery and its cables need to be fastened firmly to the machine.
- The battery should not be allowed to freeze. Be sure your battery is fully charged before heading out into the cold.
Vibration is the leading cause of battery failure, so before you start mowing, check to be that your battery is sitting firmly in the battery tray and won’t move about.
The battery’s plates can’t withstand much abuse. The battery’s performance can drop precipitously once the plates within begin to crack.
Battery failure can also be caused by the weather, namely freezing temperatures. A frozen battery is a sign that it isn’t fully charged. To learn how to store the lawnmower without damaging the battery, read up on battery maintenance during the winter.
Measurements for a Lawn Mower’s Battery
If your Cub Cadet lawn mower’s deck is powered by an electric clutch, you should replace the battery with one that has a minimum of 300 cold cranking amps (cca).
A battery’s strength is measured by its cold-cranking amps. A lesser battery, such as 250 cca, will suffice if an electric clutch is not present, but obviously a larger battery will provide superior performance.
The battery you pick must have dimensions that are compatible with the battery compartment.
More about: “Lawn Mower Battery Charging Times Explained“.
Is Your Cub Cadet Mower Still Giving You Trouble?
If you’re still having issues with your Cub Cadet after trying these suggestions, or if you’re having a different issue with your Cub Cadet altogether, I recommend checking out my guide, which details the most common issues with Cub Cadets and how to fix them. Recurring Issues with Cub Cadets.
Find out why your Cub Cadet is having problems like it won’t start, won’t cut properly, vibrates too much, or even starts smoking. I provide answers and resources for further study.