8 Reasons Why Your Husqvarna Leaf Blower Is ROUGH!
When the fuel tank cap is broken, the air filter is blocked, the spark plug is dirty, the spark arrestor is clogged, the gasoline is old, or all of these things have happened, the Husqvarna leaf blower will start to run roughly.
Never forget to turn off the fan, pull out the spark plug, and wait for everything to stop before attempting to touch it. Be careful as you operate near the sizzling engine and muffler. To prevent harm, let them cool down first.
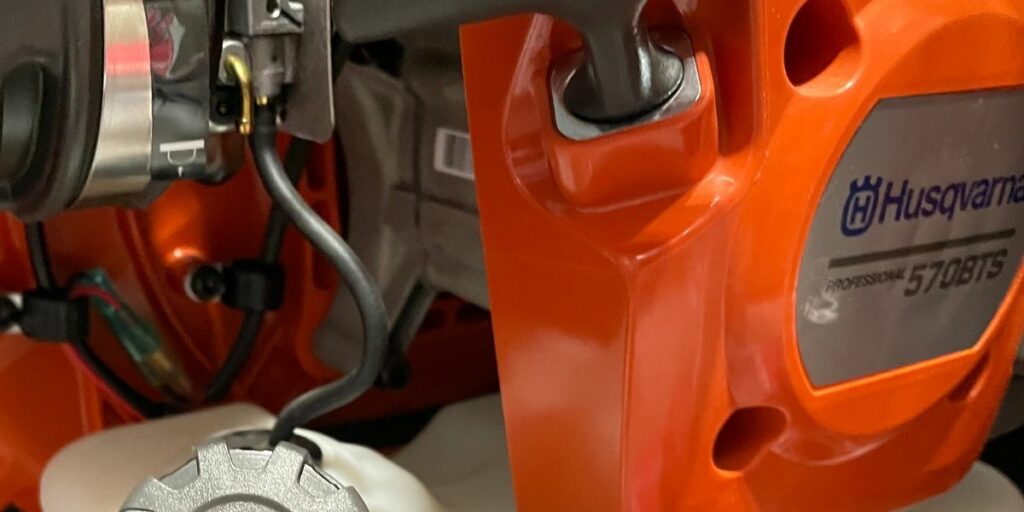
Table of Contents
8 Causes of a Rough Start with Your Husqvarna Leaf Blower
Incorrect Fuel for a Husqvarna Leaf Blower
It doesn’t take long for gas to go bad. When gas in a leaf blower has been sitting about for a while, it can cause problems with the engine and the fuel system.
Ethanol, a biofuel derived from plants, is included in most gasoline blends. Ethanol may be tolerated in most cars, but it should be avoided when fueling your Husqvarna leaf blower’s little engine.
Because ethanol is a moisture magnet, it can cause varnish and sticky deposits to form in the fuel system, which in turn can clog the fuel filter and ruin the carburetor. As a result, fuel with more than 10% ethanol content should be avoided.
For Husqvarna 2-cycle leaf blowers, the ideal ratio of gas to oil is 50:1. The ratio of gas to oil is 50:1. This fuel guide for Husqvarna leaf blowers will provide you with the necessary measurements to ensure proper fuel mixing.
- Make sure to fill up with unleaded gas that has an octane value of 89 or higher and no more than 10% ethanol. Fewer ethanol percentage points in the gas tank are preferable.
- The addition of 2-cycle engine oil, such as Husqvarna XP oil, is recommended.
If you buy gas, try to utilize it within 30 days after purchase. Add a gasoline stabilizer like Sea Foam to the tank if you won’t be able to use the petrol up in that short of a time.
A Husqvarna Leaf Blower with a Filthy Spark Plug
Combustion can’t begin until the fuel and air mixture is ignited by a spark. If the spark plug is unclean or damaged, it may only fire sometimes, causing the blower to operate erratically and slowly.
Poor engine performance can be caused by a number of factors, including spark plugs that are unclean, spark plugs with an incorrect electrode gap, and spark plugs with a loose boot.
Using a spark plug wrench, take out the spark plug. Verify the state of it. If the spark plug’s tip is very dark, the porcelain is fractured, or the electrode is burned, you should replace it.
A filthy spark plug can be remedied by brushing it off with a wire brush or by installing a new one.
A new spark plug is my go-to because it’s so important to the leaf blower’s performance. Use a feeler gauge to make sure the spacing between your spark plugs is correct.
Put in a fresh or cleaned spark plug and connect the wire to it tightly.
A Husqvarna Leaf Blower with a Clogged Fuel Filter
An integral part of the gasoline system, the fuel filter is located in the fuel tank and connects to the fuel line’s terminus. Filtered fuel keeps dirt and debris out of the engine.
If the fuel filter becomes clogged, it will prevent a continuous flow of gasoline from reaching the blower, causing it to run poorly.
Changing out a clogged fuel filter is essential. Put the leaf blower down on a level surface and take off the gasoline cap. The fuel filter needs to be removed from the tank.
To remove the filter from the tank, you can hook it with a clean, bent wire around the gasoline line. You need to grab the filter firmly while holding the fuel line and ring clip with the other hand, and then pull it out of the fuel line.
Put a fresh Husqvarna fuel filter on it and make sure it stays put. Return the fuel filter to its original location inside the tank. When the fuel level is low, it must be positioned so that it still remains submerged in the tank. Not doing so prevents the leaf blower from receiving the necessary fuel for operation.
Husqvarna Leaf Blower with Blocked Fuel Line
The fuel line of a leaf blower is susceptible to clogging from old fuel, reducing the device’s ability to function. Look for a pinched or kinked line, or one that has become plugged. A new gasoline line should be installed in place of any old one that is clogged or broken.
Damaged Husqvarna Leaf Blower Fuel Tank Cap
If the gasoline tank vent gets clogged or broken, it won’t be able to let air in and out of the tank to maintain a consistent air pressure. A gasoline tank vacuum can be created if a vent is blocked. In this way, fuel leakage is prevented.
Allowing air into the blower’s fuel tank is one way to check this. Turn on the fan and leave it on.
If you don’t want to waste gas and have to refill the tank, be careful and keep the leaf blower on a flat surface. Make sure the fuel cap is securely fastened and test the blower again to see if the problem persists; if it does not bog down or operate roughly, this indicates the fuel tank vent is at fault.
If, after installing the gasoline cap, your blower starts acting up and running roughly again, try replacing the fuel tank vent. Husqvarna leaf blower vents are often housed in the fuel cap, so if yours is broken, you’ll need to get a new fuel cap.
Husqvarna Blower With Clogged Air Filter
The engine can’t function without air. A lack of air will cause the leaf blower to function poorly.
A clogged air filter is one factor that can limit ventilation. Dirt and debris can build up in the air filter if it is not frequently cleaned and replaced.
I suggest getting a new filter if you notice that your current one is clogged. The little little air filter is often overlooked. When it comes to keeping the motor safe, this part is crucial.
To learn how to clean the specific type of air filter used in your Husqvarna leaf blower, consult the leaf blower’s manual.
To help you keep your Husqvarna air filter in top shape, I’ve included some maintenance guidelines below.
Methods for maintaining a clean fiber air filter in a Husqvarna blower:
- Taking it apart from its housing and giving it a good brushing should get rid of any dust or debris.
- Water and some gentle dish soap can also be used to clean it. Lay flat to dry after rinsing under running water.
- Cleaning the air filter housing and cover before reinstallation is highly recommended.
- If the filter is broken or very unclean, you should get a new one.
How to Maintain a Husqvarna Primary Foam Filter:
- Take off the foam air filter from its housing.
- Remove any lingering grime from the housing and the lid. You should keep the air intake free of debris.
- Use a mixture of warm water and mild dish soap to clean the foam filter.
- The water should be clear after rinsing. Rinse the filter in a sink or other container of water and lay it flat to dry.
- Saturate the filter in motor oil and squeeze away any excess when it has dried. Oil should not be leaking off of it. When using a foam filter as the primary filter, only add oil to the filter. Don’t put oil in your filter if it’s a pre-filter that’s used in tandem with a standard paper air filter. This is bad for the paper filter.
- Set up the air foam filter.
- The air filter cover must be reattached.
Husqvarna Leaf Blower with a Filthy Carburetor
The optimal performance of your leaf blower is achieved by the carburetor’s mixing of air and fuel. If the channels get blocked up, the tiny parts won’t work properly.
A rough-running leaf blower may be the result of too little fuel being combined with the air.
It’s possible that a thorough cleaning of the carburetor can restore normal operation. If cleaning the carburetor does not solve the problem, you will either need to repair it (if rebuild kits are offered for your carburetor) or substitute it.
Husqvarna Leaf Blower with Blocked Spark Arrestor
In order to prevent burns or fires from the leaf blower’s hot exhaust, it is equipped with a small metal screen. An arrestor for sparks, this screen is here.
If it isn’t regularly cleaned, carbon accumulation will cause it to become clogged.
Pull the wire out of the spark plug. Take off the exhaust cap for the car. It’s important to take your time when removing the spark arrestor screen. Use a metal brush to remove any debris from the screen, then replace it. The engine exhaust cover must be reattached. Reconnect the wire to the spark plug.
Install a new spark arrestor screen if you find the old one is too dirty, broken, or has a hole to be effectively cleaned.